Decorating your living room can feel impossible when you look at the price tags in furniture stores. It often seems like you need thousands of dollars just to make a room look nice. But I wanted to prove that you can get a beautiful, cozy space on a tiny budget.
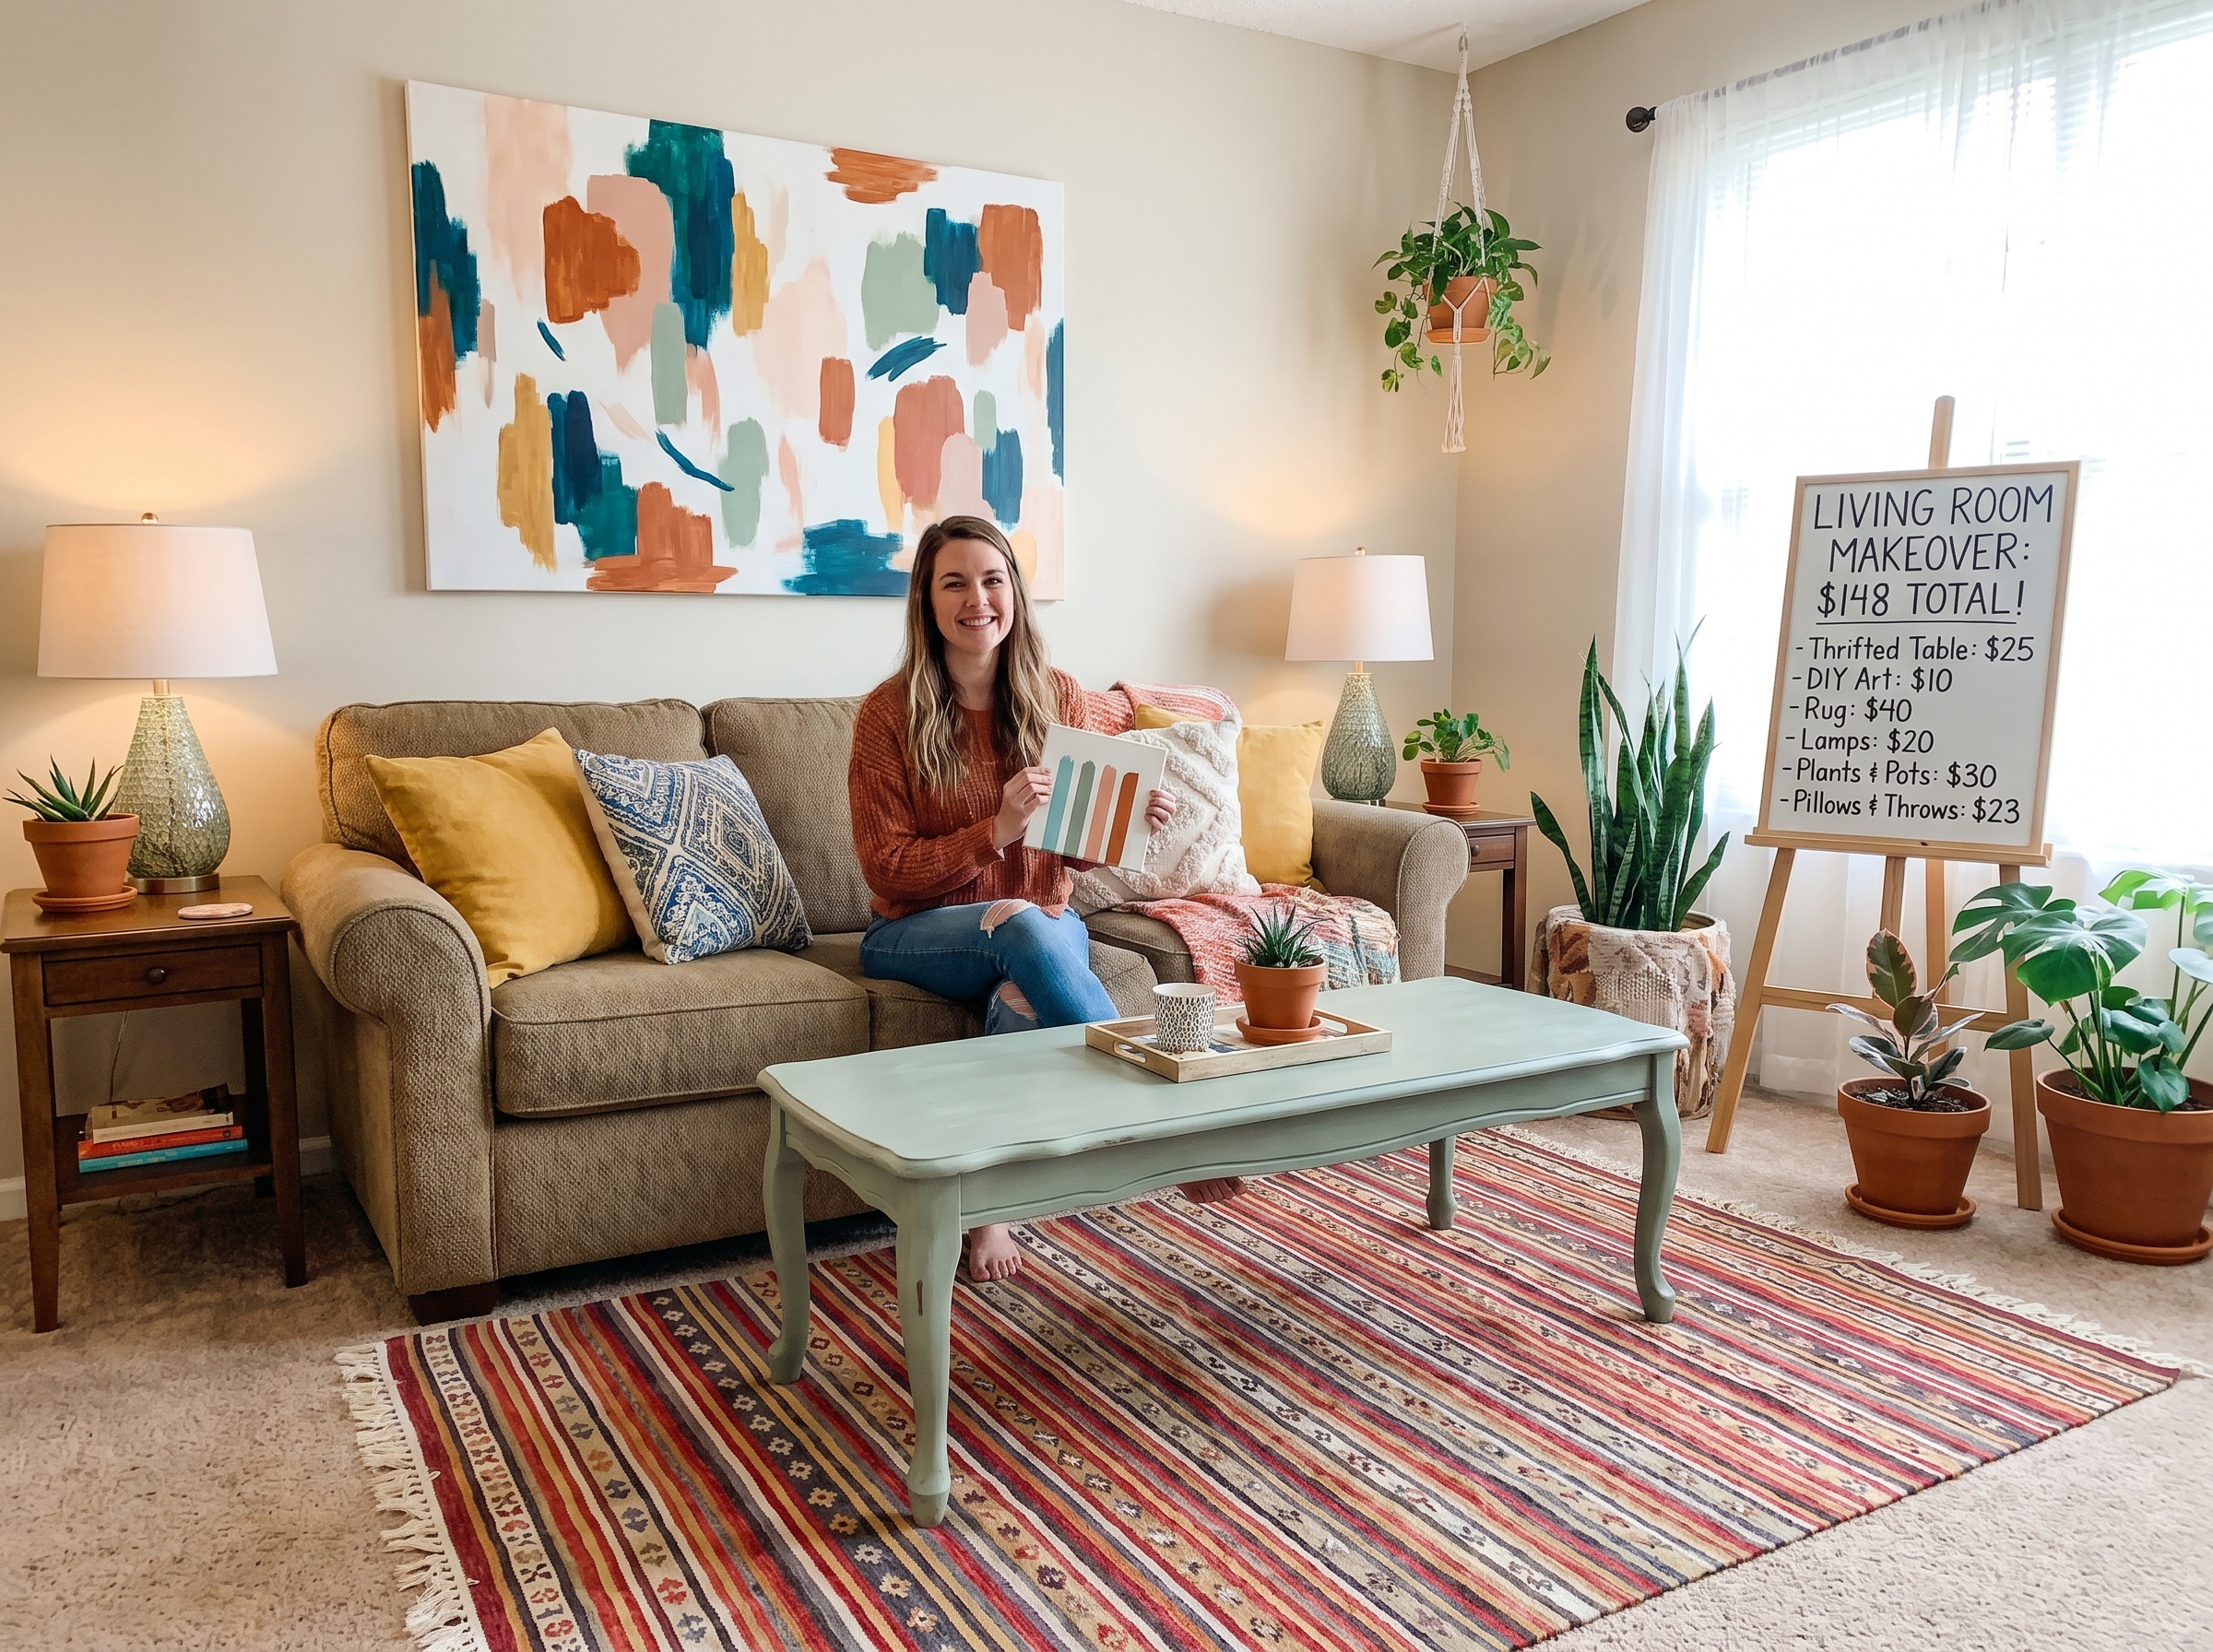
I gave my living room a complete makeover for just $150.
You do not need a lot of money to change the look of a room. All it takes is a clear plan, some smart shopping, and a little creativity. In this article, I will share the exact items I bought, how much they cost, and the simple styling tricks I used so you can do the exact same thing in your home.
Budget Breakdown
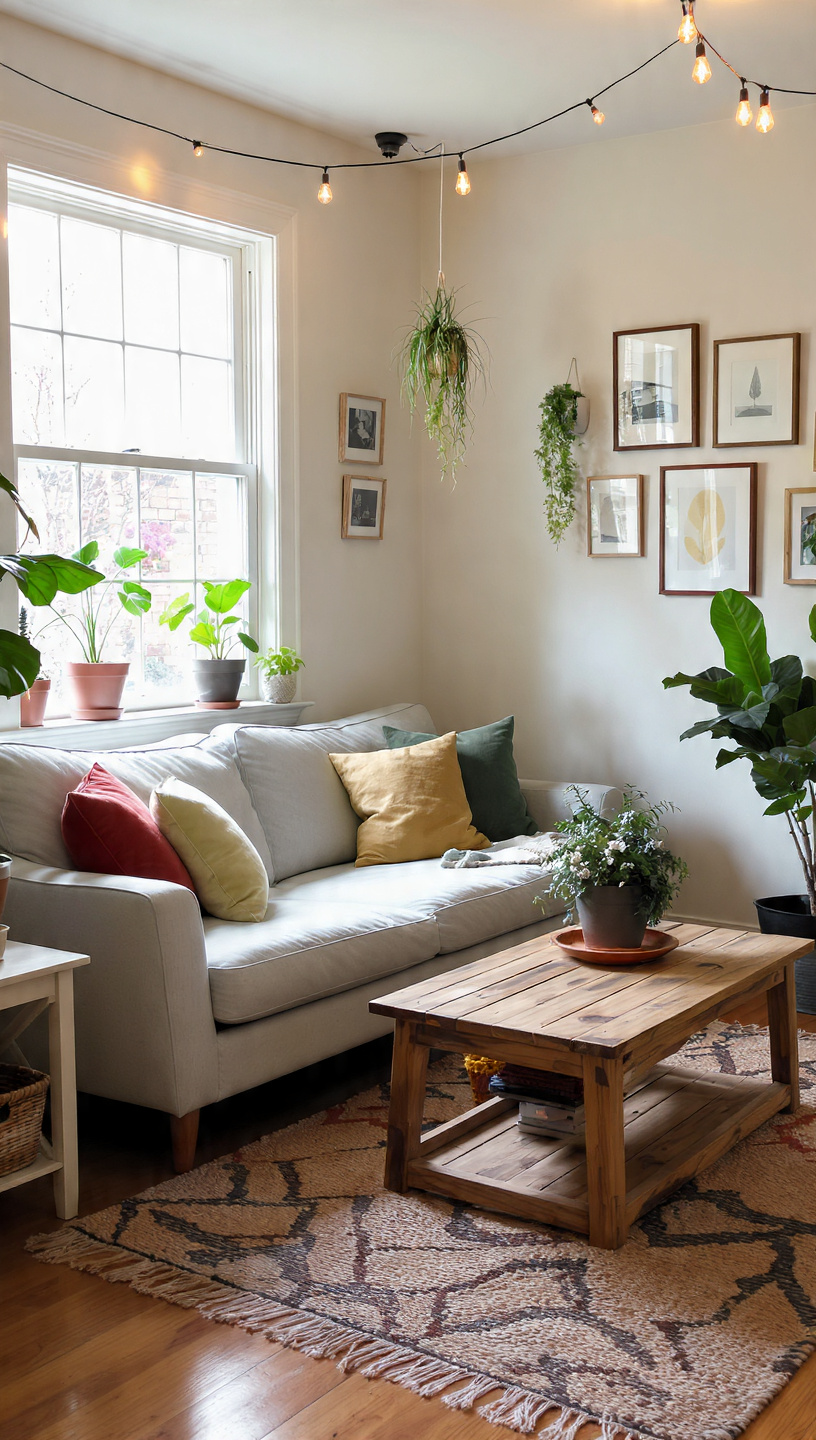
Tracking every single dollar spent is the only way to prove that a beautiful room does not require deep pockets. This transparent financial breakdown shows exactly where the money went to maximize every inch of the living space.
| Decor Category | Targeted Room Purchases | Actual Secondhand Cost |
| Statement Textiles | Thrifted oversized area rug and neutral linen accent pillow covers | $45.00 |
| Ambient Lighting | Online marketplace brass floor lamp and warm LED smart bulbs | $25.00 |
| Gallery Wall Styling | Thrift store wooden frames with printed digital museum artwork | $35.00 |
| Accent Furniture | Secondhand solid wood side table customized with leftover paint | $20.00 |
| Greenery & Decor | Supermarket clearance tropical plants and DIY terracotta vases | $25.00 |
Ultimate Living Room Makeover
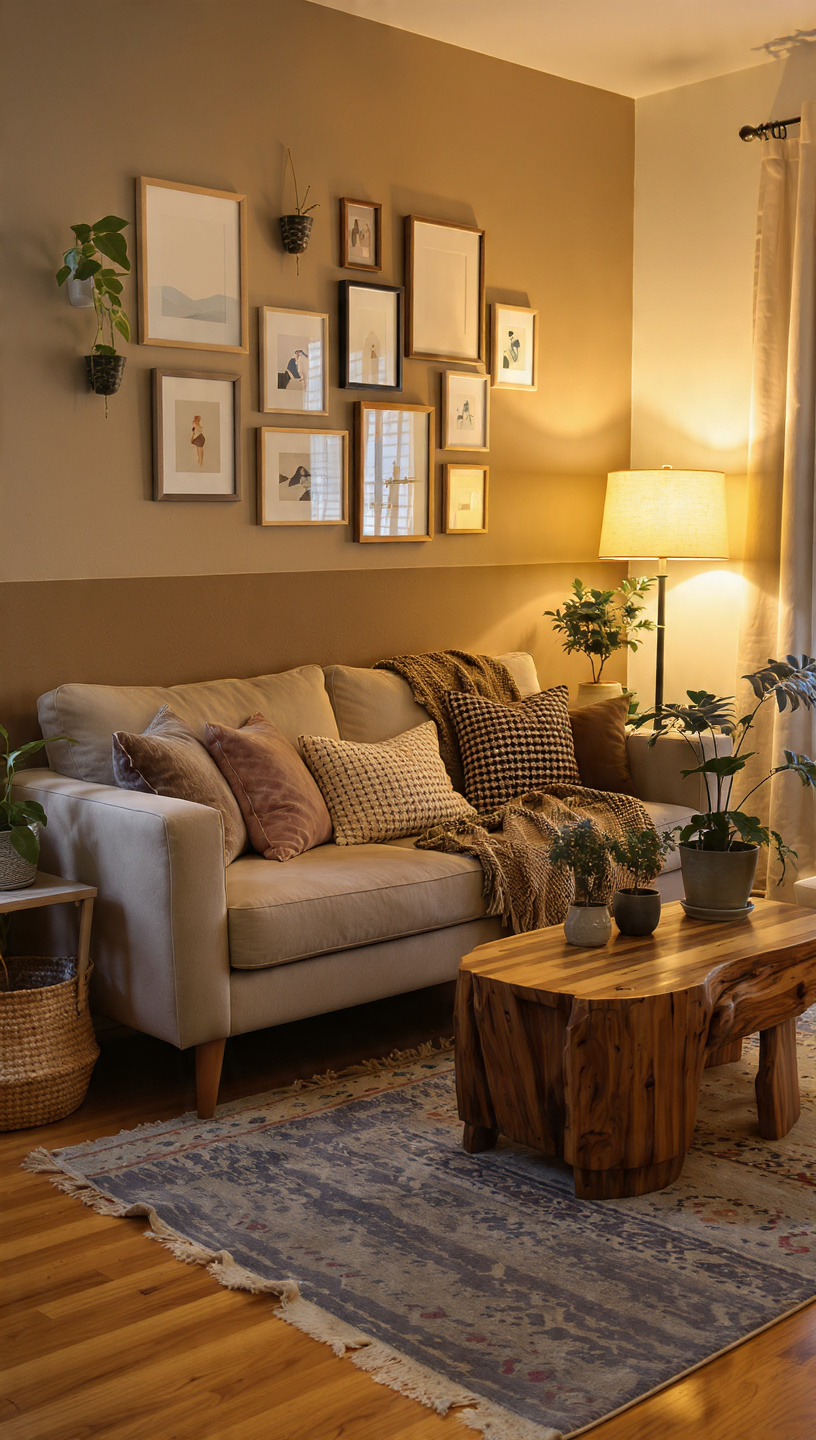
Staring at a boring, empty apartment living room can feel incredibly frustrating when your bank account is nearly empty. Most design magazines make you believe that creating a beautiful space requires spending thousands of dollars at high-end furniture stores.
The good news is that you do not need deep pockets to build a cozy, stylish home that reflects your personality. With a clear plan and a strict $150 budget, you can completely transform your entire environment through smart shopping hacks.
By focusing on high-impact areas like lighting, textiles, and wall art, you can make cheap items look beautifully curated and expensive. Let us dive into the exact breakdown of how to turn your plain rental into a gorgeous oasis without breaking the bank.
Smart Planning
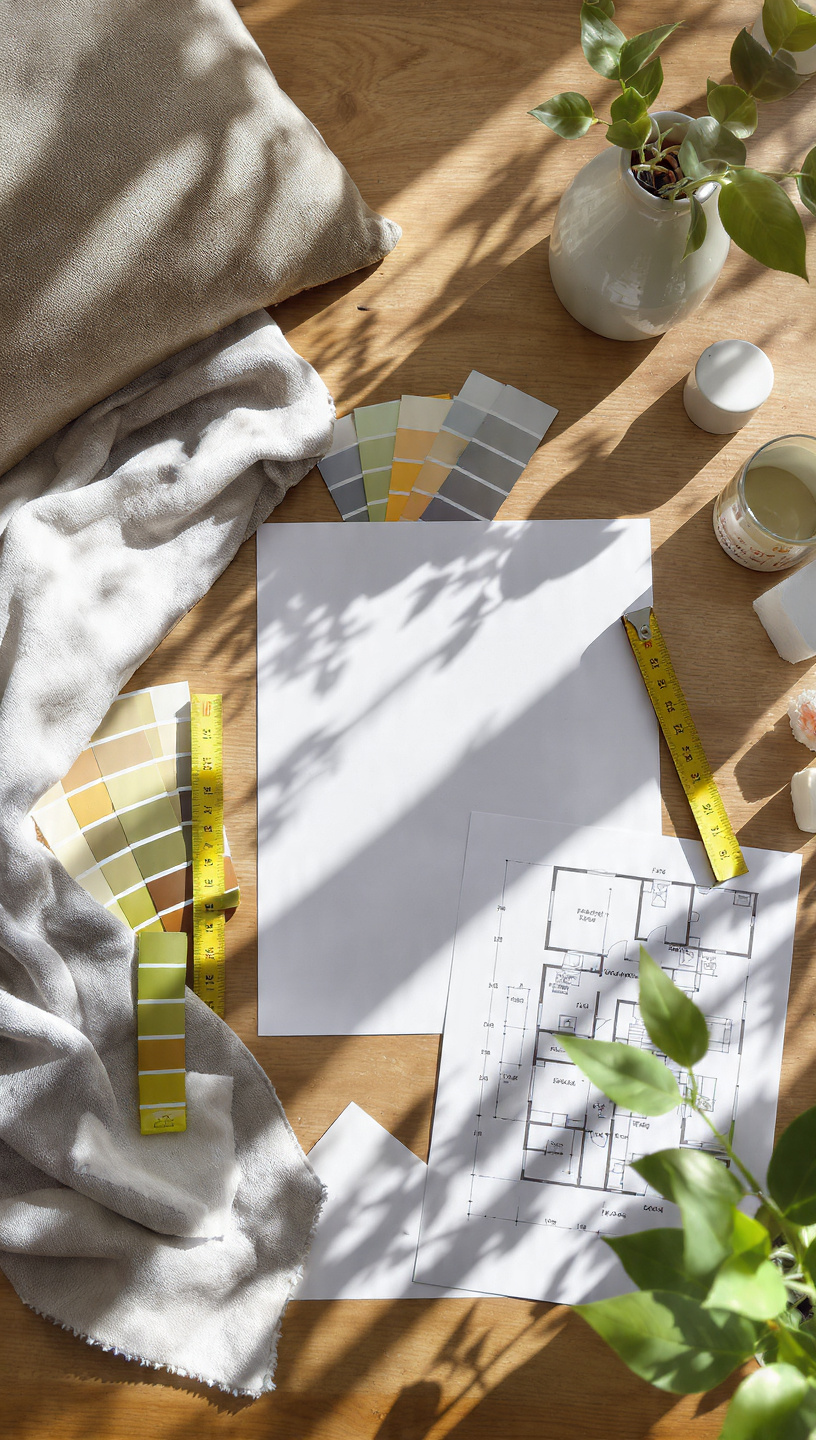
Before rushing out to buy random decor pieces, you must choose a cohesive color palette to keep your look unified. Picking three matching colors ensures that mismatched secondhand items will look like they belong together once placed in the same room.
Your sourcing strategy should completely bypass traditional retail aisles in favor of local estate sales and online digital marketplaces. Scanning these budget-friendly platforms allows you to track down high-quality materials for a tiny fraction of their original store prices.
Focus your energy on the largest blank slates in the room because transforming them gives you the biggest visual change. Targeting the walls, floor space, and lighting layout will make the entire room feel instantly refreshed and expensive.
Taking the time to measure your space carefully prevents you from buying furniture items that are way too big or small. Writing down these exact dimensions in your phone keeps you organized and ready whenever you stumble across a great deal.
Furniture Wins
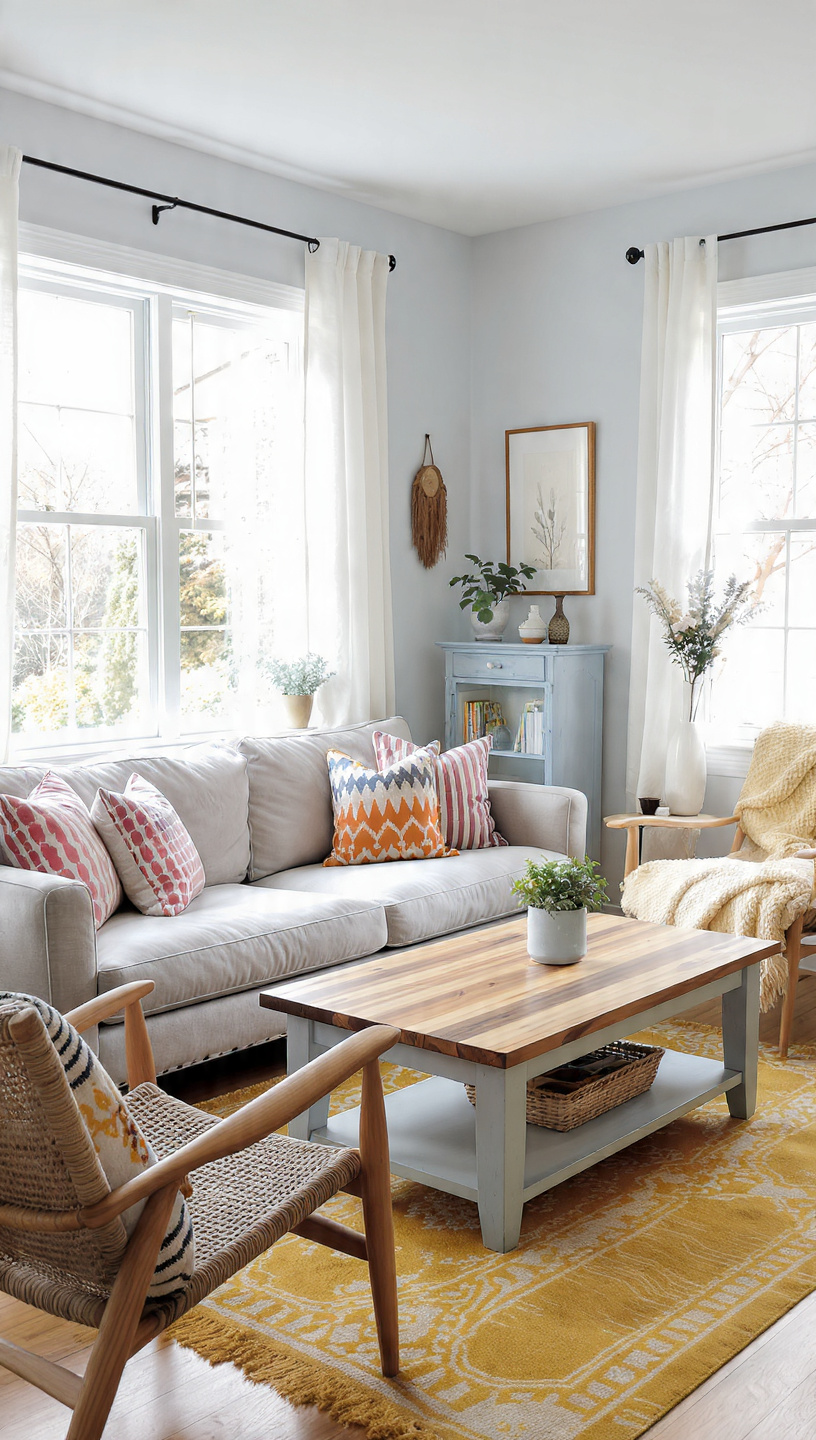
Finding great furniture online requires using very specific, un-hyped search terms to discover hidden gems that others miss. Avoid searching for trendy keywords, and instead look for basic descriptive words like old table or sturdy wood nightstand.
When you find a good piece, send a polite message offering immediate pickup to help convince the seller to lower their price. Many people clearing out their homes will gladly take less money if you promise to haul the item away today.
An old, scratched wooden side table can be completely saved with a quick sanding session and a tiny container of sample paint. Applying a fresh coat of modern matte paint instantly breathes new life into a piece that someone else threw away.
Always check the bones of a furniture item by giving it a quick shake to ensure the structure is still strong. Investing your time into solid wood pieces guarantees your thrifted furniture will survive multiple moves and last for years.
Wall Art Hacks
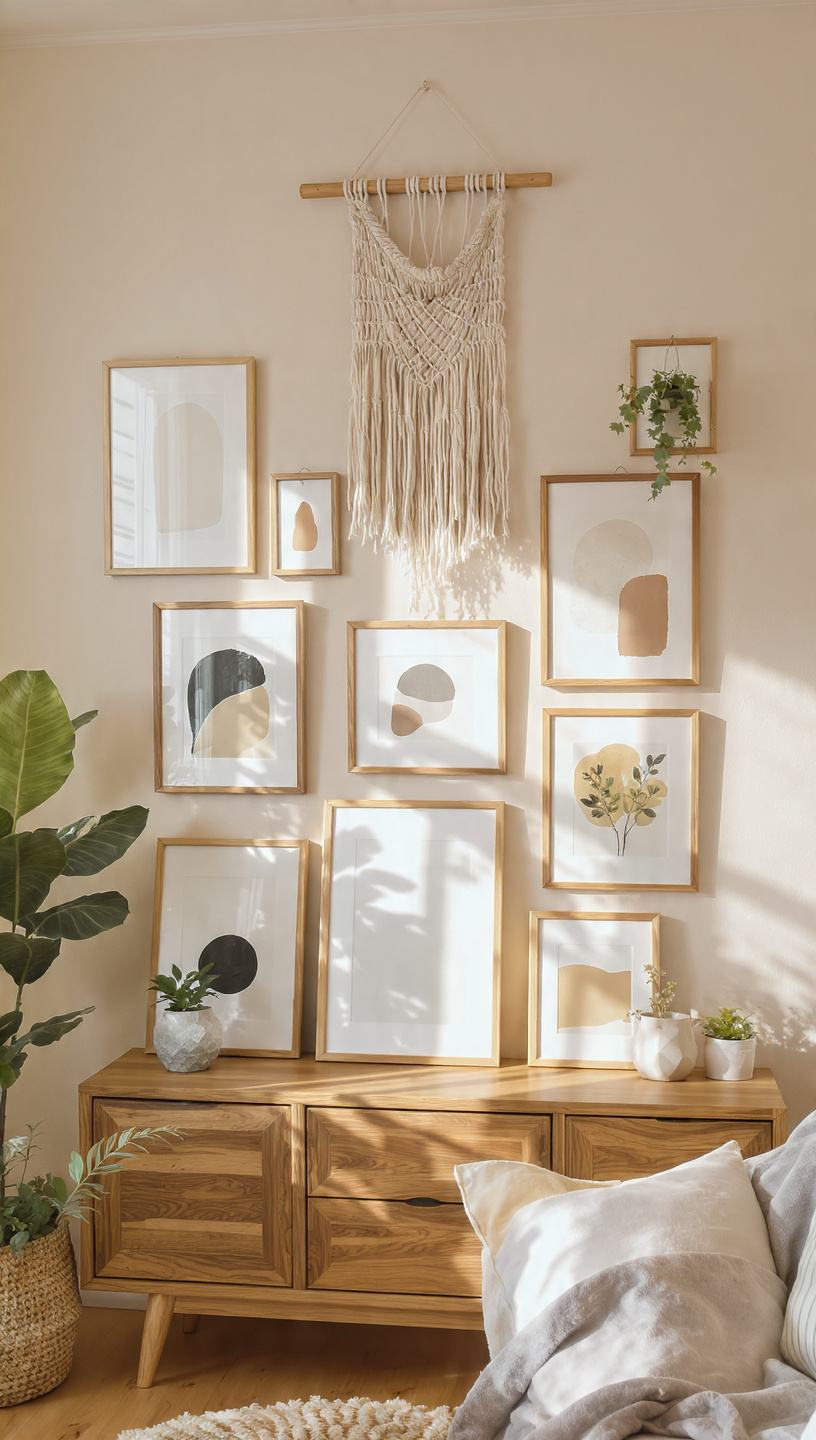
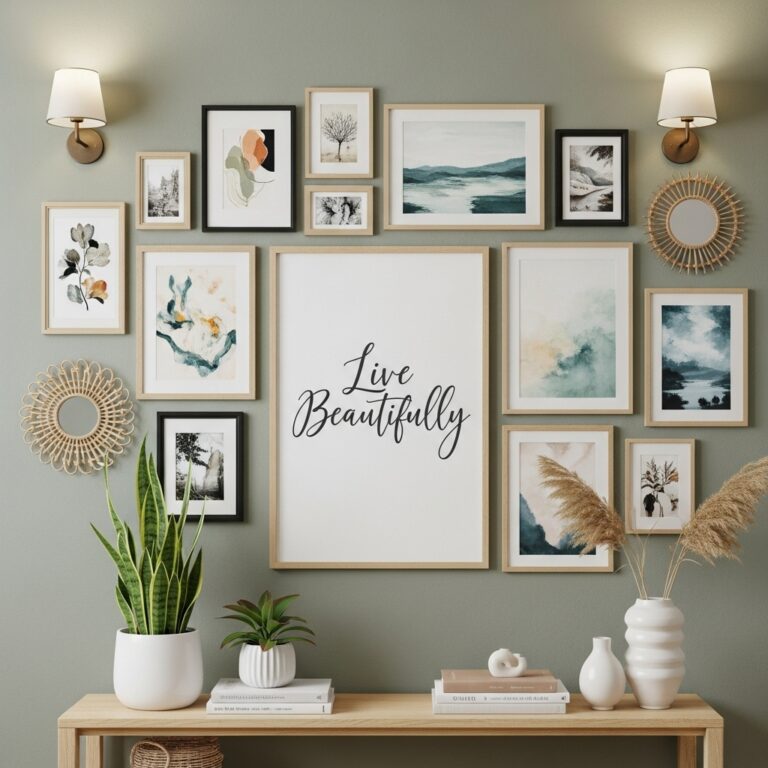
Buying art at thrift stores is a secret weapon because you are solely purchasing the item for the expensive wooden frame. Discard the ugly old picture inside, clean the glass thoroughly, and you have a premium frame for just a few dollars.
You can download gorgeous, high-resolution vintage artwork completely free from online public domain museum archives that cost nothing to use. Printing these classic images at a local office supply shop gives you beautiful museum-quality prints for pennies.
Before hammering nails into your drywall, lay all your framed art pieces directly onto the living room floor first. This step allows you to test different arrangements and find the perfect balance without damaging your apartment walls.
Using removable adhesive strips is another amazing trick for renters who want to avoid losing their security deposit over wall damage. This simple method keeps your gorgeous new gallery wall completely secure while keeping the landlord perfectly happy.
Cozy Textiles
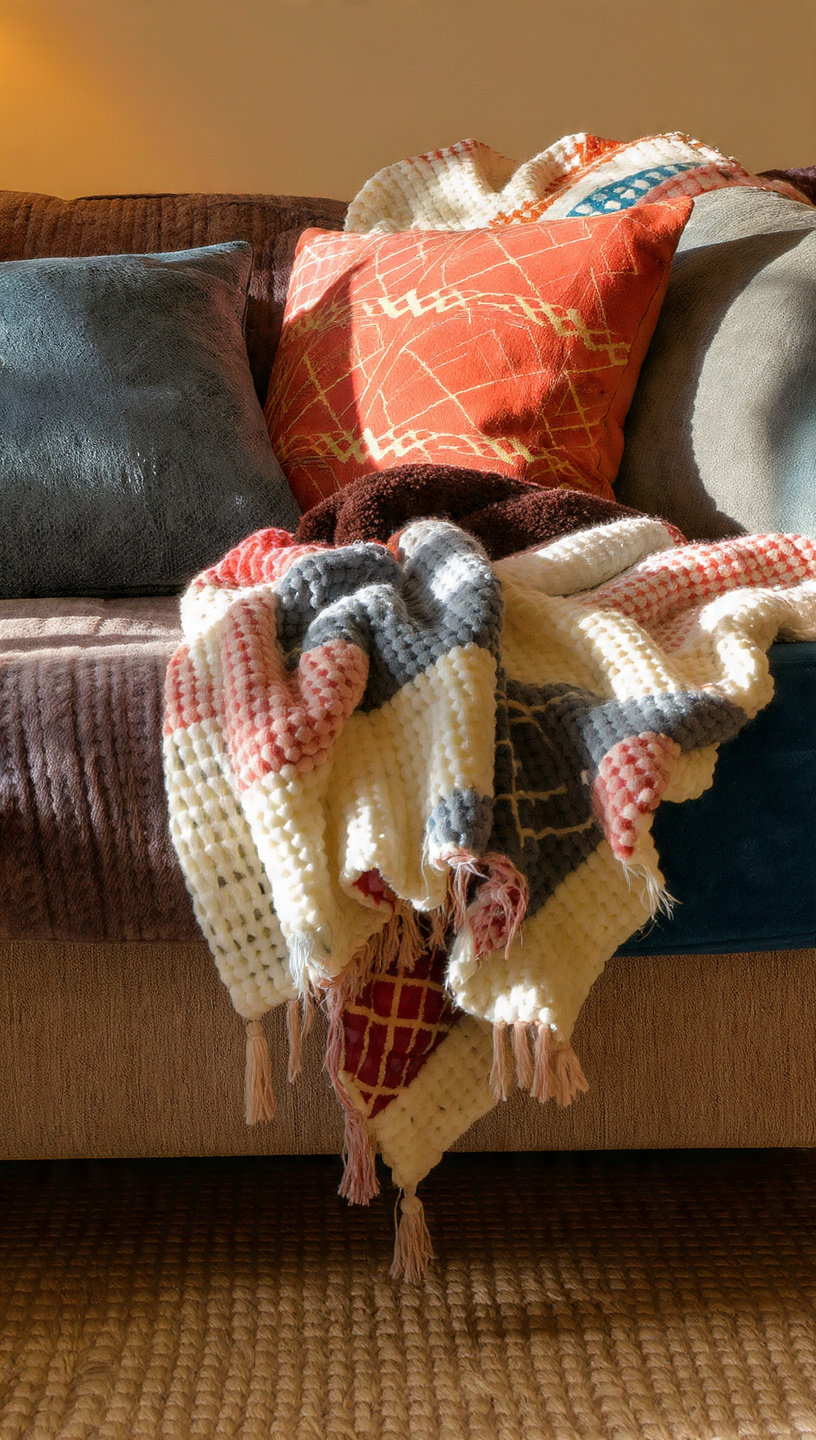
Finding a large, slightly faded traditional rug is the absolute best way to anchor your room and hide ugly rental carpeting. A good rug defines the seating area and immediately makes the entire space feel warm, cozy, and intentional.
Instead of buying expensive new pillows, purchase cheap down feather inserts secondhand and wash them thoroughly at home. You can then buy brand-new, modern linen zippered covers online to get that luxury look for a bargain price.
Opting for a few oversized textiles looks much more expensive than cluttering your living room with dozens of tiny blankets. Large, simple textures create a clean aesthetic that mimics the feel of a high-end boutique hotel.
Curtains should always be hung high and wide outside your window frame to trick the eye into thinking your ceilings are taller. This easy design trick lets in maximum natural light while making a small apartment feel twice its actual size.
Lighting Secrets
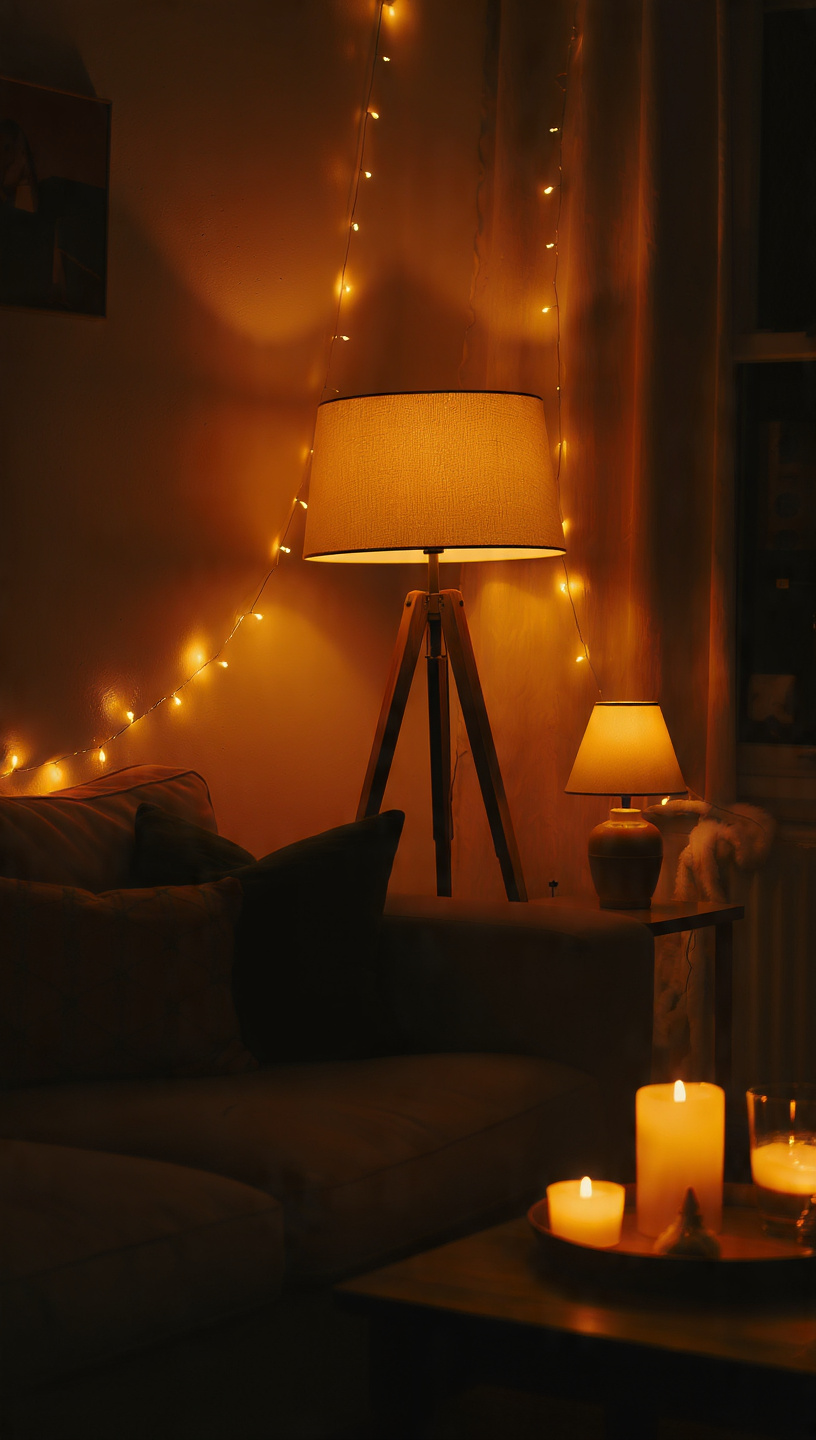
Relying on harsh, clinical overhead lighting is a major mistake that washes out color and creates cold, depressing shadows. To fix this, turn off the big ceiling light and focus on placing lamps in different corners of the room.
Positioning lamps at varied heights creates warm pools of light that make the living room feel instantly cozy and welcoming. A mix of a tall floor lamp and a small table lamp adds beautiful dimension to the space.
Using affordable programmable smart bulbs allows you to adjust the color temperature from energetic morning light to cozy evening warmth. Setting your lights to a soft, warm yellow glow instantly masks cheap furniture and makes everything look luxurious.
Placing a battery-powered puck light inside a thrifted wall sconce gives you beautiful ambient lighting without needing an electrician. This easy DIY hack adds a high-end look to your walls safely and without any complicated wiring.
Shopping Strategy
To make your budget makeover as smooth as possible, use this quick reference guide to know exactly where to shop for each item. These specific spots will give you the absolute highest quality pieces for the lowest amount of cash.
| Item Category | Best Shopping Spots | What to Watch Out For |
| Wooden Furniture | Facebook Marketplace and Moving Sales | Check for solid wood and skip shaky particle board |
| Art Frames | Thrift Stores and Goodwill Outlets | Ignore the ugly art inside and focus only on the frame |
| Warm Lighting | Estate Sales and Online Clearance Sections | Test the cord safety and buy cheap smart bulbs online |
| Accent Textiles | Thrifting Outlets and Digital Overstock Shops | Inspect closely for stains and buy brand new zip covers |
Wrap-Up
Giving your living room a fresh new look does not have to be expensive. As you can see, you can make a massive difference with just $150 if you focus on small, high-impact changes like lighting, pillows, and affordable wall art.
The secret to a great home isn’t spending a fortune. It is about being smart with your choices and finding budget-friendly items that match your style.
If your living room feels boring, do not wait until you have a huge budget. Start small, use these tips, and see how far a little creativity can take you!